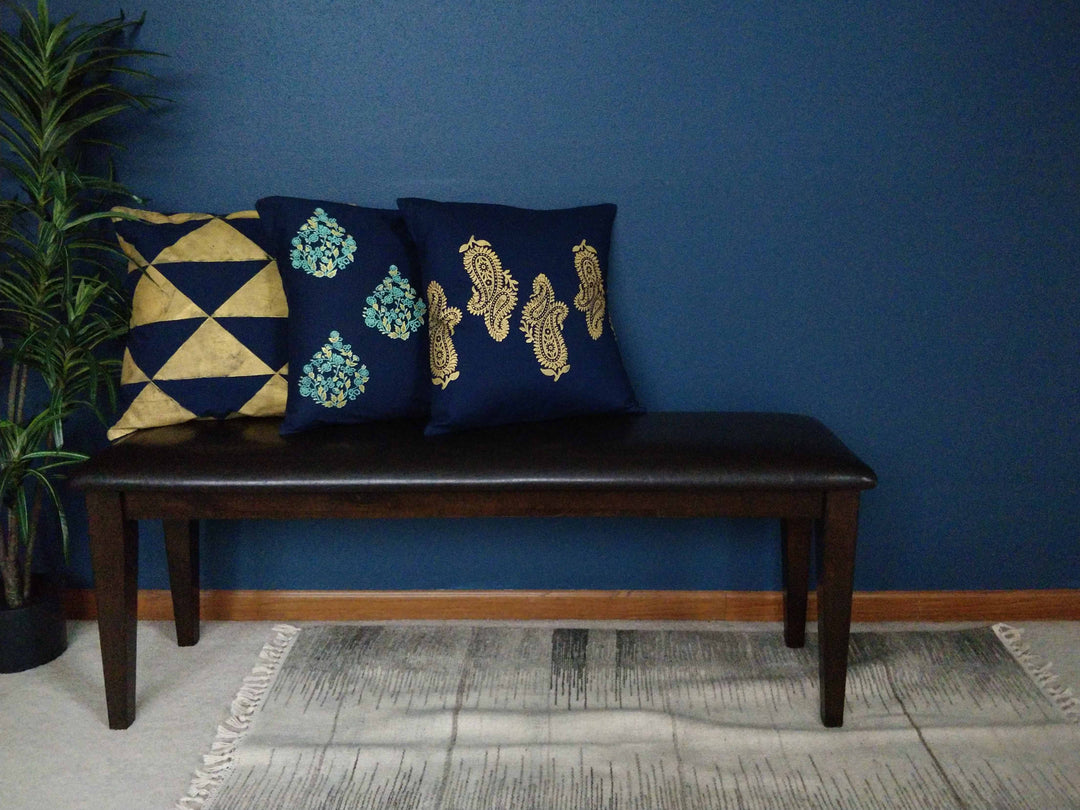
Indigo dye - a timeless blue
 Indigo is such a timeless classic. The color has been so pleasing to wear, look at and has, dare I say it, become a neutral color that goes with almost any color. As beautiful it is, and as it falls under as a natural dye, hence considered sustainable and eco-friendly, I would be iffy on this statement. The amount of water required to wash a fabric after indigo dyeing is A LOT. And thus I wouldn’t readily agree on it being eco-friendly.
That being said first, the color is just stunning and in low batches I feel you can keep an eye on the water consumption while using an indigo dye.

Here are the basic steps for creating your own indigo dye
There are numerous indigo dye recipes available online. I like this as a safe and non-toxic recipe. Other than the indigo dye, the remaining ingredients can be found at your local grocery store in the bakery aisle.
This is a simple 1:2:3 ratio recipe of indigo dye: pickling lime powder: High fructose corn syrup The high fructose corn syrup acts as a reducing agent. Indigo powder on its own, isn't naturally soluble. It requires a reducing agent to make it soluble. When the indigo is reduced it dissolves and the dye bath is a greeny-yellow color. In order for the reducing agent to act on the indigo, a basic (alkaline) environment is required. A recommended base for an indigo vat is calx (calcium hydroxide) also known as lime, pickling lime, or hydrated lime.
Creating the starting solution
For 1 litre of dye concoction (ideal for 1lb of fabric), you will need
- 20 gms of indigo powder
- 40 gms of pickling lime powder
- 60 gms of high fructose corn syrup
- 1 litre of hot water, not boiling water. If you use boiling water, it will burn the dye.
A stock pot with lid, exclusively used for dyeing and not for cooking
- In a 1 litre mason jar, add the indigo dye powder. Using some hot water (not boiling water) to the dye to make a thick paste.
- Next, add the high fructose corn syrup to the paste and mix the dye.
- In a separate bowl, place the pickling lime and add some of the hot water to dissolve the lime powder.
- Now pour the lime solution into the mason jar. Fill the jar with water until it reaches the neck of the jar. DO NOT fill until the rim of the bottle. You need space on top of the jar for the dye to breathe.
- Close the jar with the lid, and give the bottle a good shake so everything mixes really well.
- Let the dye rest for 15 mins, and give it another shake to let the dye mix properly. Repeat again every 15 mins four more times. Then let it rest overnight
Next morning, you will see the dye mixture separate with the sediments settled at the bottom and the liquid with be red or green in color. This is normal, and what we hope to see.

To make the indigo dye vat:
In a stock pot, fill it half way with hot water, not boiling water. You want to add enough to submerge the fabric completely. It should be able to move around freely. You don’t want to add excessive water as this would dilute the dye vat. Now slowly pour in the indigo dye concoction, sediments and all. Stir the stock pot slowly, keep stirring in a clock wise direction. As you stir, you don’t want to introduce air into the mixture. Stirring will create an frothy substance in the middle of the stock pot. This froth is called is an indigo flower. This is indicative of a heathy indigo dye pot.

Let the stock pot and dye rest for 20 mins. Make sure you close the stock pot with a lid.
Before adding the fabric into the water, ensure the fabric is soaking wet.
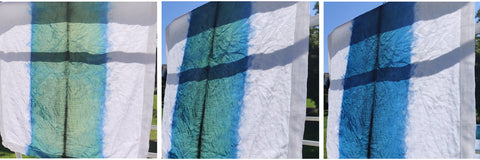
You can soak the fabric from anywhere between 2-15 mins at a time. The intensity of the blue achieved will depend on the number of times you soak the fabric in the dye.
After you take the fabric out of the indigo vat, the fabric will look green. Let the fabric dry in bright sunlight, for the same time you left the fabric soak for. If you soaked it for 10 mins in the indigo vat, then let it dry in the sun for 10 mins. The bright sunlight intensifies the blue. Keep the indigo vat close while the fabric is soaking and drying.
Once you are done dyeing, wash the fabric well. A lot of the dye will run and the color will reduce in intensity significantly.
You don’t have to discard the indigo vat. You can reuse this indigo vat for 6 months. You will need to reheat the vat on a low flame to revive the vat before dyeing again.
Vat Maintenance
I found a really good article on vat maintenance and restarting an indigo vat. I have linked the article here.